Last Updated on November 8, 2025 by David
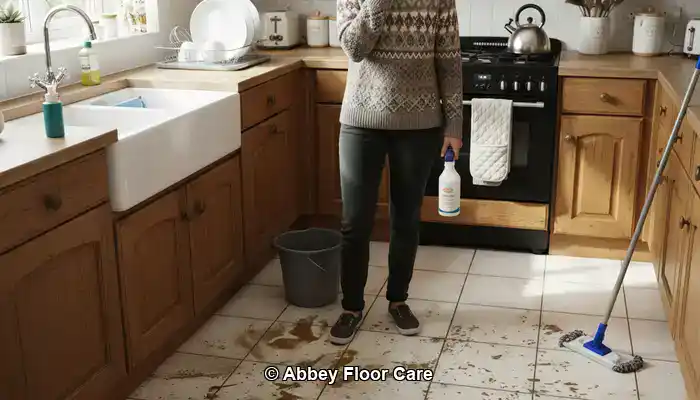
Essential Guidelines for Effectively Resealing Your Porcelain Tiles
- While porcelain tiles often do not necessitate surface sealing, it is crucial to regularly reseal grout lines every 1 to 2 years. This essential practice helps avert staining and moisture absorption, thereby extending the lifespan of your flooring.
- High-traffic spaces such as kitchens and hallways require more frequent resealing compared to lesser-used areas like guest bathrooms. It's important to personalize your maintenance schedule based on the usage of each room.
- The water drop test serves as a simple yet effective method to determine when resealing is necessary. If water soaks into the tile or grout, it’s a clear indication that resealing should be performed.
- Choosing the correct sealer is vital, as it must align with both the type of tile and its location. For example, penetrating sealers are ideal for unglazed porcelain and grout.
- Be mindful of common pitfalls such as over-sealing, the use of abrasive cleaners, or neglecting grout lines, as these mistakes can compromise the resealing process and potentially lead to damage.
Uncover the Various Types of Porcelain Tiles Available on the Market
Expert Recommendations: Top Products for Daily Grout Maintenance and Cleaning
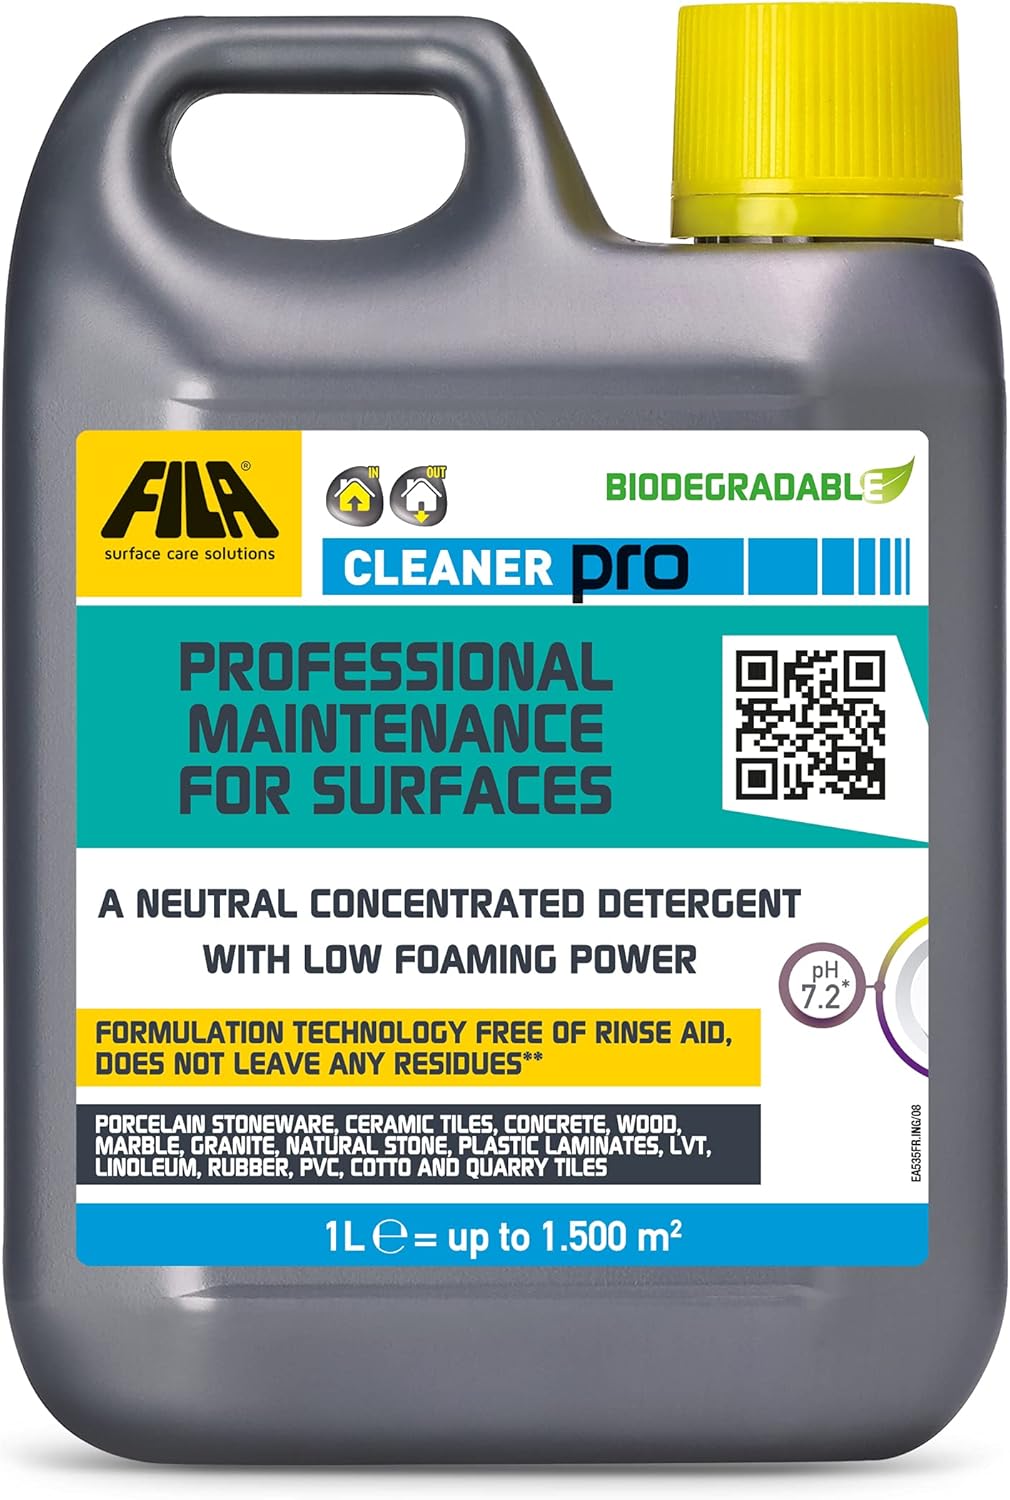
Fila Pro Floor Cleaner
|
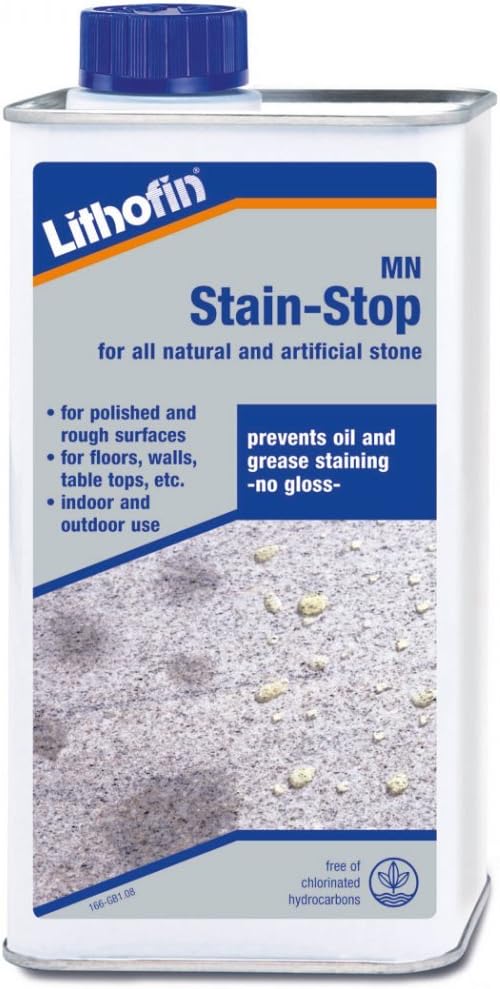
Lithofin MN Stain Stop
|
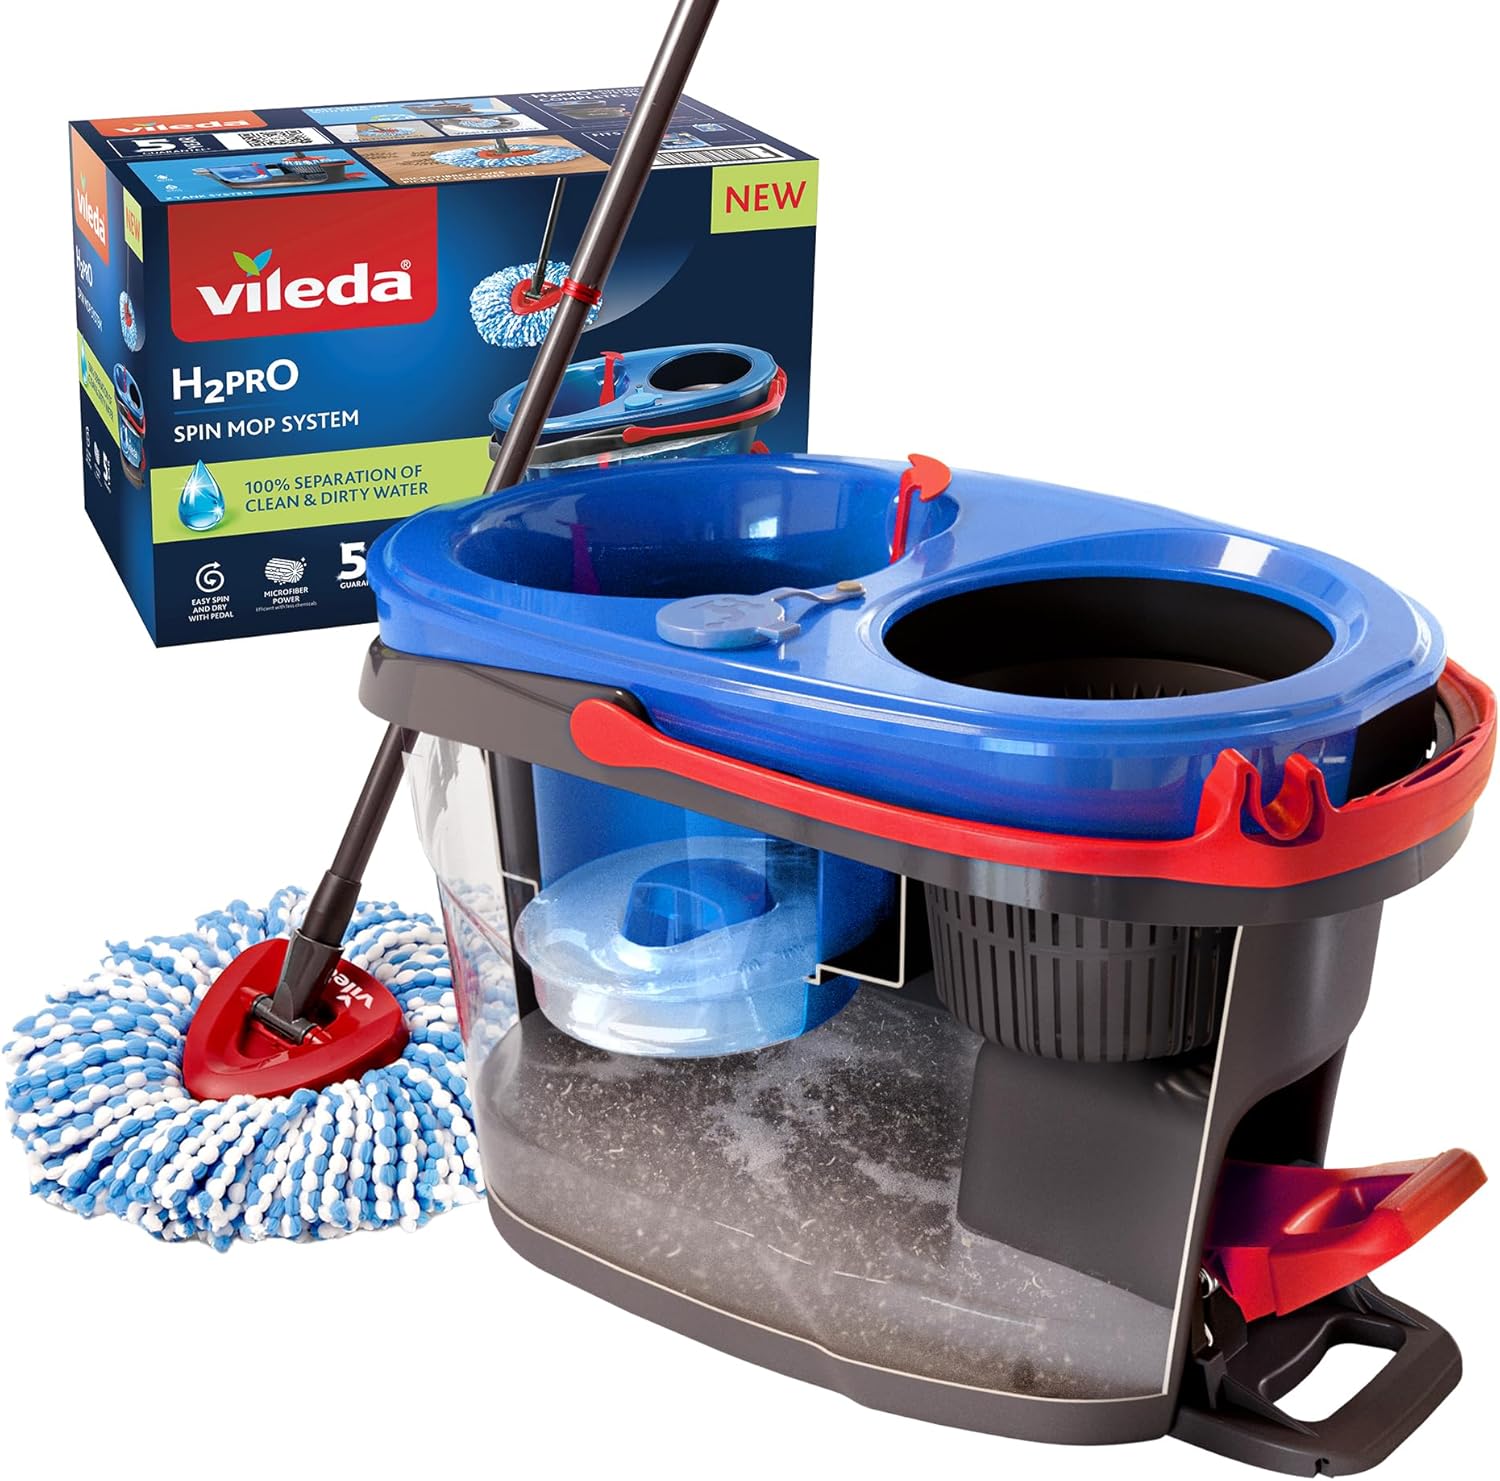
Vileda H2PrO Spin Mop System
|
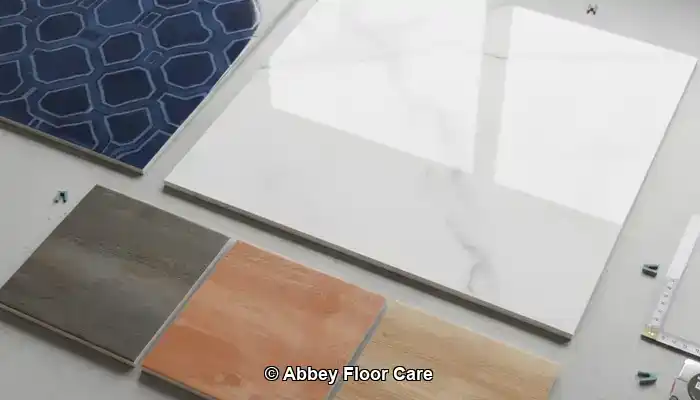
Understanding the Differences Between Glazed and Unglazed Porcelain Tiles
Porcelain tiles are available in two primary finishes: glazed and unglazed. The glazed version features a protective layer that is baked onto its surface, enhancing stain resistance and offering a diverse range of aesthetic options. In contrast, unglazed porcelain presents a more natural, matte finish, making it a favored choice due to its slip resistance and durability, particularly in high-traffic areas. While glazed tiles typically do not require sealing, unglazed tiles, being more porous, require regular resealing to protect against moisture absorption and staining.
Clarifying the Differences Between Ceramic and Porcelain Tiles
Although ceramic and porcelain tiles are often mistaken for one another, they each possess unique characteristics regarding density, water absorption, and overall durability. Porcelain tiles are fired at higher temperatures, resulting in a denser and less porous material compared to ceramic tiles. This property makes porcelain particularly suitable for areas frequently exposed to moisture, such as kitchens and bathrooms. Understanding these distinctions aids homeowners in establishing appropriate sealing routines and choosing suitable cleaning products.
Understanding the Rising Popularity of Porcelain in UK Homes
The widespread use of porcelain tiles in UK residences can be linked to their low maintenance requirements, aesthetic versatility, and compatibility with underfloor heating systems. Their ability to imitate natural stone or wood while offering superior durability makes them an ideal choice for both modern and traditional interiors. Homeowners appreciate porcelain for its long-lasting performance, especially when supplemented by correct sealing and care practices.
 The Critical Importance of Resealing for Maintaining Tile Longevity
Understanding Grout and Tile Surface Care Requirements
Even though porcelain tiles are generally low-porosity, particularly when glazed, the grout lines are significantly more absorbent and prone to staining. Although the tile surface resists moisture, the grout can easily soak up spills, dirt, and residues from cleaning agents. Regular resealing is crucial to create a protective barrier that shields grout from discoloration and erosion, especially in areas like kitchens and bathrooms where spills occur frequently.
Enhancing Moisture Resistance and Preventing Stains
Consistent resealing greatly improves moisture resistance and minimizes the risk of stains penetrating porous surfaces. In high-traffic areas such as hallways and utility rooms, resealing is vital for maintaining the floor’s appearance and preventing long-term damage. Homeowners who adhere to a regular resealing schedule can extend the life of both the tile and grout, especially in environments exposed to water or cleaning products.
Maintaining Aesthetic Appeal and Slip Resistance
Over time, tiles that remain unsealed or inadequately sealed may lose their original finish, resulting in a dull or uneven appearance. Regular resealing helps preserve surface shine and can enhance slip resistance when the appropriate product is utilized. This is particularly important in spaces like bathrooms and entryways, where wet conditions elevate the risk of slipping. A well-maintained seal not only enhances safety but also boosts aesthetic appeal.
Key Factors Influencing Resealing Frequency

How Foot Traffic and Room Functionality Impact Resealing Needs
Areas with heavy foot traffic, such as hallways and kitchens, wear down more quickly, exposing grout to higher levels of dirt and moisture. Conversely, less-trafficked rooms, like guest bathrooms or spare bedrooms, may not need resealing as frequently. Homeowners should evaluate each room individually rather than depend on a generic resealing schedule.
How Cleaning Products Affect Surface Wear
The use of harsh or acidic cleaners can hasten the deterioration of sealers, particularly in grout lines. Even products considered safe for tiles can strip protective layers if misused or over-applied. A gentle, pH-neutral cleaner is recommended to maintain the seal and prolong the intervals between resealing.
How Indoor Climate and Airflow Influence Sealer Longevity
Humidity levels and air circulation significantly determine how quickly grout and tile surfaces dry after cleaning. Poor ventilation can extend moisture exposure, potentially compromising sealers over time. Homes with effective ventilation and balanced humidity levels are likely to retain sealed surfaces longer, particularly in bathrooms and utility spaces.
Need Assistance with Your Tiles? Send us a quick message for expert guidance.
How to Determine If Your Tiles Require Resealing
Identifying Signs of Wear or Absorption
Visible changes in grout color, increased staining, or a dull appearance of the tile surface may indicate that the seal has weakened. In high-use areas, this wear can accumulate slowly, often going unnoticed until dirt becomes more challenging to remove or moisture lingers after cleaning.
Understanding the Water Drop Test as an Evaluation Tool
A simple and effective method for assessing seal integrity is the water drop test. Drop a few droplets of water onto the tile and grout and observe whether they bead up or absorb. If the water quickly penetrates or leaves a dark stain, it signifies that resealing is needed. This test is particularly reliable on unglazed porcelain and grout lines with higher porosity.
Recognizing Surface Dullness and Grout Discoloration
Tiles that appear chalky or exhibit uneven sheen often indicate a loss of their protective coating. Similarly, grout that darkens or shows patchy staining frequently signifies seal degradation. These visual indicators assist homeowners in determining if resealing is necessary, even if the floor appears clean.
Choosing the Right Sealer for Your Porcelain Flooring
Understanding the Differences Between Penetrating Sealers and Surface Sealers
Penetrating sealers penetrate the tile and grout, forming a protective barrier without altering the surface appearance. These are particularly effective for unglazed porcelain and grout lines, providing moisture resistance while maintaining a natural look. In contrast, surface sealers create a visible layer and may enhance shine or texture; they are often used on decorative tiles but can affect slip resistance if not selected carefully.
How to Select Safe Sealers for Tiles and Grout
Not all sealers are suitable for both tile and grout. Homeowners should choose products specifically labeled as safe for porcelain and compatible with cement-based grout. Using an inappropriate type can lead to hazing, residue buildup, or diminished effectiveness. Always check product labels to ensure compliance with UK safety standards for optimal long-term performance.
What to Look for in Eco-Friendly and Pet-Safe Sealers
Many modern sealers are water-based and low in volatile organic compounds (VOCs), making them safer for indoor use. For households with pets or children, opting for a non-toxic, eco-friendly sealer minimizes exposure risks during application and drying. Such products typically require less ventilation and are easier to clean up after use.
Step-By-Step Guide to Resealing Your Tiles
Preparing Surfaces for Resealing Through Cleaning
Prior to resealing, thoroughly cleanse the tile and grout using a pH-neutral cleaner. It is essential to eliminate all dirt, oils, and residues to ensure proper adhesion of the sealer. Allow the floor to dry completely; any moisture trapped underneath the sealer can cause hazing or uneven application, ultimately compromising the seal.
Recommended Tools and Techniques for Application
Utilize a soft applicator pad, microfiber cloth, or brush specifically designed for the product and surface type. Apply the sealer evenly across the tile and grout, working in manageable sections to avoid unsightly overlap marks. Always adhere to the manufacturer's recommendations for coverage rates and refrain from allowing excess product to pool in grout joints.
Understanding the Significance of Drying Times and Ventilation
Most sealers necessitate a drying time of 2 to 4 hours before permitting light foot traffic and up to 24 hours for complete curing. Open windows or utilize fans to enhance air circulation, especially in confined spaces. Avoid wet cleaning or placing rugs on the surface until the seal has fully cured to prevent imprinting or stickiness.
Resealing Timelines Based on Room Functionality and Usage
Resealing Requirements for Kitchens, Bathrooms, and Hallways
Kitchens typically necessitate resealing every 12 to 18 months due to frequent spills, cooking residues, and high foot traffic. Bathrooms may follow a similar schedule, particularly around showers and sinks where moisture levels are significant. Hallways, based on their traffic, might require resealing every 18 to 24 months to ensure the protection of grout and clarity of the surface.
Comparing Resealing Needs in Low-Traffic Versus High-Traffic Areas
In low-traffic spaces such as guest bathrooms or spare bedrooms, resealing every 2 to 3 years may be adequate. In contrast, high-traffic zones like entryways, kitchens, and utility rooms benefit from more frequent maintenance. Homeowners should tailor their resealing schedules based on the unique usage of each space instead of adhering to a generic guideline.
Seasonal Considerations for Optimal Resealing Conditions
Spring and early autumn provide ideal conditions for resealing floors in the UK, as they offer moderate temperatures and sufficient airflow. It is advisable to avoid resealing during high humidity or extreme cold, as these conditions can hinder drying times and the overall effectiveness of the product. Planning resealing around seasonal cleaning routines ensures consistency and supports the long-term health of your flooring.
Avoiding Common Resealing Mistakes
The Risks Associated with Over-Sealing Your Tiles
Applying excessive amounts of sealer or resealing too frequently can lead to surface buildup, hazing, or sticky residues. This issue is especially prevalent with surface sealers, which create a visible layer. Homeowners should adhere to manufacturer guidelines and only reseal when the previous layer has adequately worn down or failed.
The Consequences of Using Harsh Cleaners Prior to Sealing
Acidic or bleach-based cleaning agents can weaken the tile and grout, interfering with the ability of the sealer to bond effectively. Always select a pH-neutral cleaner before resealing to ensure the surface is clean and ready for treatment. Harsh chemicals may leave residues that disrupt the performance of the sealer, ultimately compromising the sealing process.
The Importance of Ensuring Grout Lines Are Not Overlooked
Grout, often the most vulnerable part of a tiled floor, is frequently neglected during the resealing process. Failing to seal grout lines can result in uneven protection and increased staining. It is essential to utilize a small brush or targeted applicator to ensure that grout receives proper coverage, especially in areas prone to spills, such as kitchens and bathrooms.
Frequently Asked Questions About Resealing Porcelain Tiles
Can I Reseal My Tiles on My Own?
Yes, many homeowners opt to reseal their porcelain tiles and grout independently using readily available products. The key to success lies in meticulously following the instructions, using tile-safe sealers, and ensuring that the surface is thoroughly clean and dry before application. DIY resealing is particularly effective in low-traffic areas or as part of routine maintenance.
How Can I Determine If My Seal Has Failed?
The water drop test serves as a reliable method for assessment. Simply place a few drops of water on the tile and grout, and observe whether they bead up or absorb. If the water penetrates swiftly or leaves a dark mark, the seal is likely compromised, indicating that resealing is recommended.
Which Products Are Safe for Use Around Pets?
Seek out water-based sealers that feature low VOC content and are labeled as non-toxic or pet-safe. These products help minimize exposure risks during application and drying, making them suitable for homes with pets or children. Always ensure proper ventilation and keep pets off the floor until the seal has completely cured.
Is Resealing Necessary for Glazed Tiles?
Generally, glazed porcelain tiles do not need surface sealing; however, the grout between them can significantly benefit from regular resealing. In specific scenarios, a light application of penetrating sealer may be useful to protect the grout without altering the tile’s finish.
The Article How Often Should You Reseal Porcelain Tiles first found on https://www.abbeyfloorcare.co.uk
The Article Resealing Porcelain Tiles: How Often Should You Do It? appeared first on https://fabritec.org
The Article Resealing Porcelain Tiles: Frequency and Best Practices Was Found On https://limitsofstrategy.com